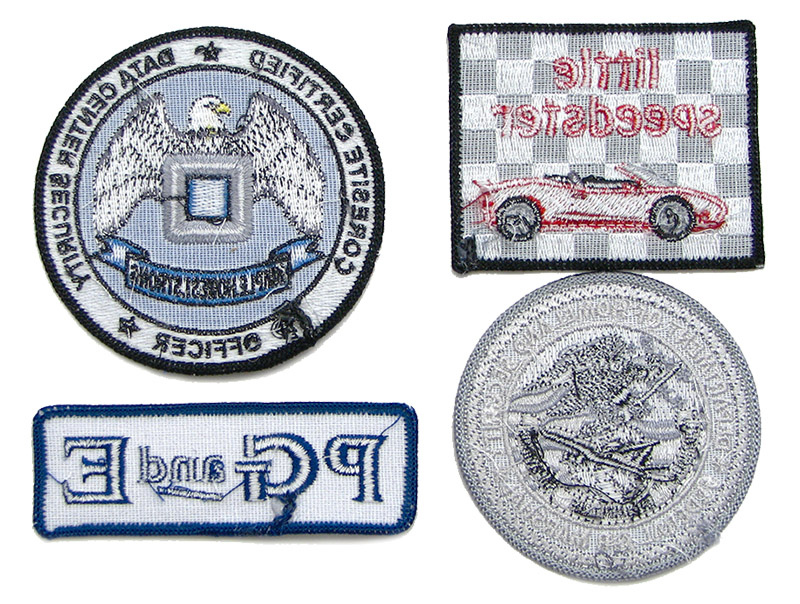
When it comes to custom patches, sewn-on patches offer the ultimate in durability and proper appearance. If you want to learn how to sew on a patch, the instructions below will show you just how quick and easy it can be.
There’s no reason to be apprehensive about sew on patches. Attaching them to any garment, backpack, tote bag or just about any other fabric surface is fast and easy once you know the steps.
Start by washing and drying the item to which you want to attach the embroidered patch. While it might seem unnecessary, some fabrics will shrink a bit when laundered. This step prevents the material from shifting or bunching after you sew on your custom patch.
If your material requires it, iron before you start to sew. Your patch site should be clean, dry and wrinkle-free before you begin. By the way, make sure your work area has adequate lighting. You want to be able to see your work as you go.
Proper Placement Prevents Poor Patch Performance
The real key to successfully sewing on your patch is placement. Experiment with different locations on your garment until you find the one that’s just right. Then use pins to hold the patch in place until you start sewing it on. For those who haven’t yet learned how to sew on a patch, iron-on backing is a great alternative. You can iron on patches, then sew them into place until you get the hang of it, and switch to standard sew-on patches for later garments.
Once your patch is in place where you want it, prepare your needle and thread. For best results, you want a good quality cotton blend thread. Select a color that closely matches your patch or your fabric for an unobtrusive look. Pull about 18 inches of thread from the spool and cut it off at a 45-degree angle.
When it comes to threading needles, the use of a needle threader, available at fabric, craft and discount stores, is highly recommended. These simple, inexpensive devices make threading your needle a lot faster and easier. But don’t be discouraged about threading by hand. With good lighting and a little patience it can be done.
Once you have the thread in the needle, pull it through until half the thread is on either side of the needle. Tie the two ends in a knot. Now here comes the nitty-gritty of how to sew on a patch.
Work from the back side of your fabric to the front. This hides the knotted end of your thread when you’re finished. Push the needle through the edge of the patch, guiding it with your hands. Be careful!
Pull the needle through the front of the fabric and repeat in the opposite direction, leaving about 1/4-inch between your needle entry points. Once you’re done, slip your needle under the stitch to make a loop, and pull to tighten. Repeat this at least once to secure your knot. Clip the thread at the needle, and you’re all set.
If you have any questions about creating custom patches and which backing you should choose, just give us a call or e-mail us!